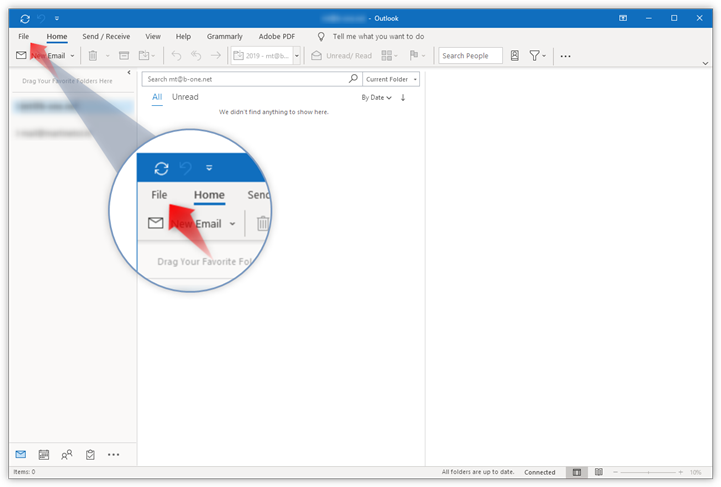
Step 1 - Open Outlook and click File
Open Outlook on your computer and click File in the top left corner.
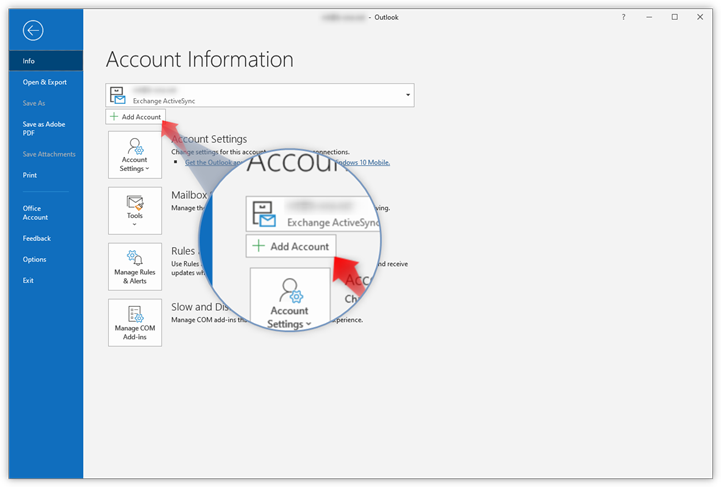
Step 2 - Click Add account
Click Add Account to start setup.
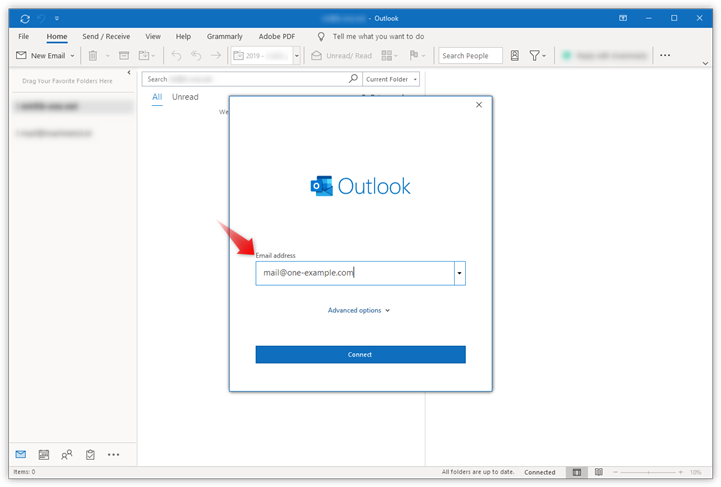
Step 3 - Type in your email address
Type in the email address you want to add and click Connect.
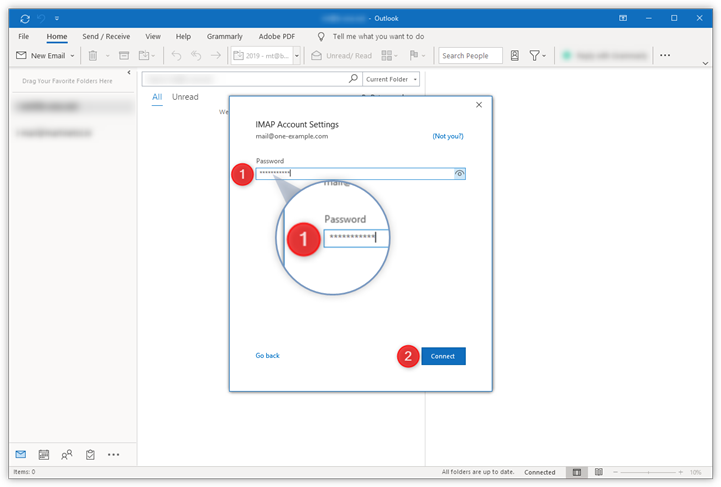
Step 4 - Enter your password
- Type in your password, it is the password that you also use to log in to Webmail.
- Click Connect to continue.
Note: If Outlook cannot detect your settings automatically, please select IMAP and then enter the settings below, or check our troubleshoot guide for alternative settings.
- Incoming mail: imap.one.com - 993 - SSL/TLS
- Outgoing mail: send.one.com - 465 - SSL/TLS
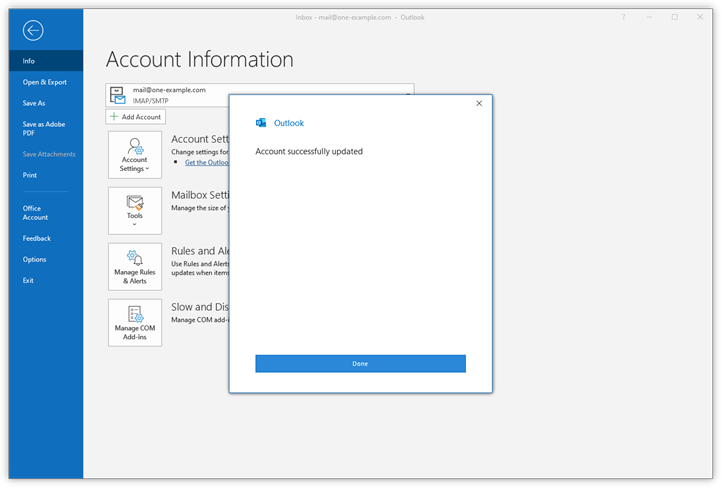
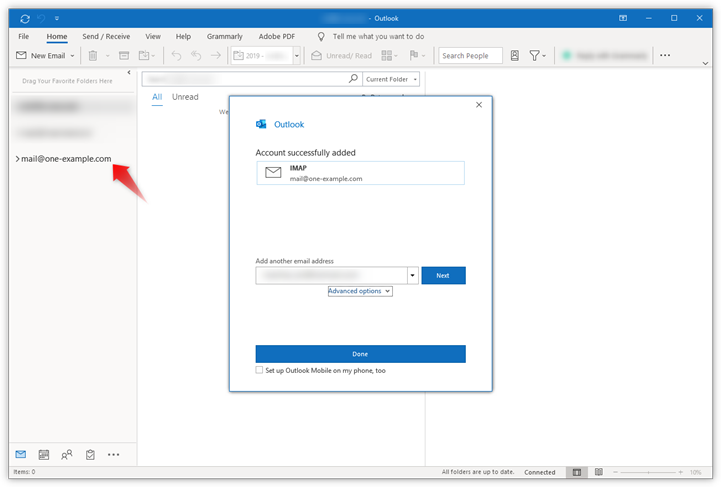
Step 5 - Close automatic setup
Click Done to complete setup.
Please continue on the rest of steps 6-9 since these are important for correctly synchronising the folders in your mailbox.
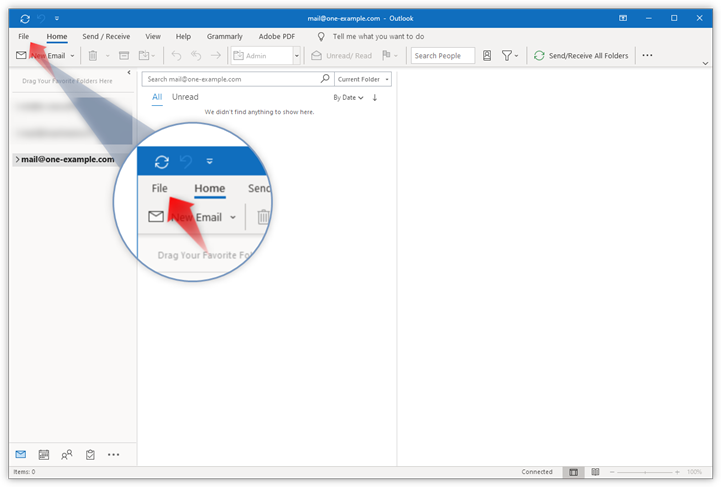
Step 6 - Go to File again
Your email account is now set up, but you need to add an additional setting to make sure all emails are delivered to the correct folders.
Go to File again.
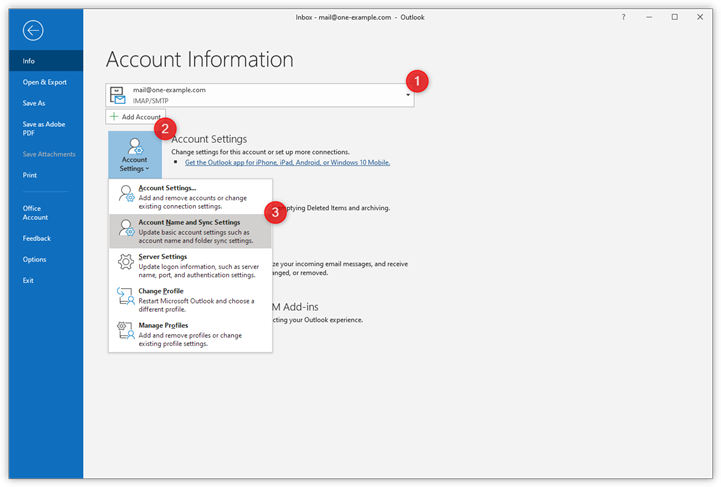
Step 7 - Go to Account Name and Sync Settings
- Select the email you want to check the settings for in the drop-down bar at the top of the screen.
- Click Account Settings.
- Select Account Name and Sync Settings in the drop-down menu that appears.
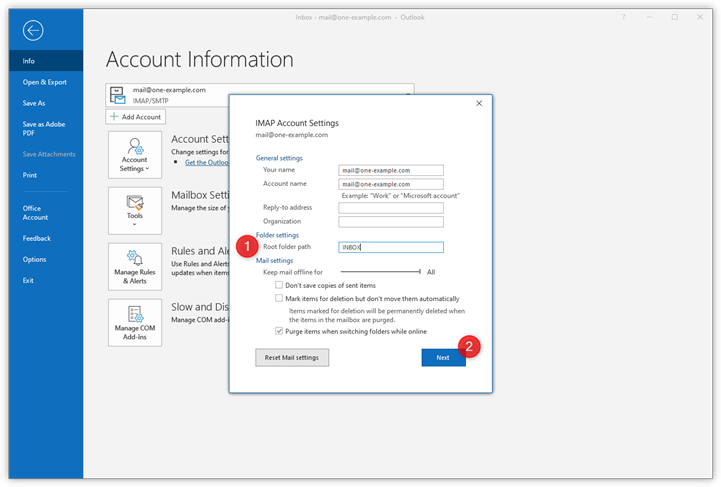
Step 8 - Set the Root folder path
- Under Folder settings, type in INBOX as the Root folder path, all in capitals.
- Click Next to save your settings.
Step 9 - You are done!
Click Done and go to your inbox. Here you can see that all folders are on the same level as your inbox.